Download Fortect here! Recently, Microsoft released Windows 10 v1809. However, users are unable to install the update on their Windows PC. For some users, the update rolls back during installation, and for some, the updates do not appear in the Windows updates history. “ Nevertheless, the failed Windows installation error results in the error prompt “Error on installation – Code 0x800f0955. On the other hand, Windows 10 error 0x800F0955 is caused by several reasons such as bloated Windows registry keys, system file corruption, incomplete Windows OS installation, outdated system drivers, and more.
How can I fix Windows 10 error 0x800F0955?
1. Run a full system scan
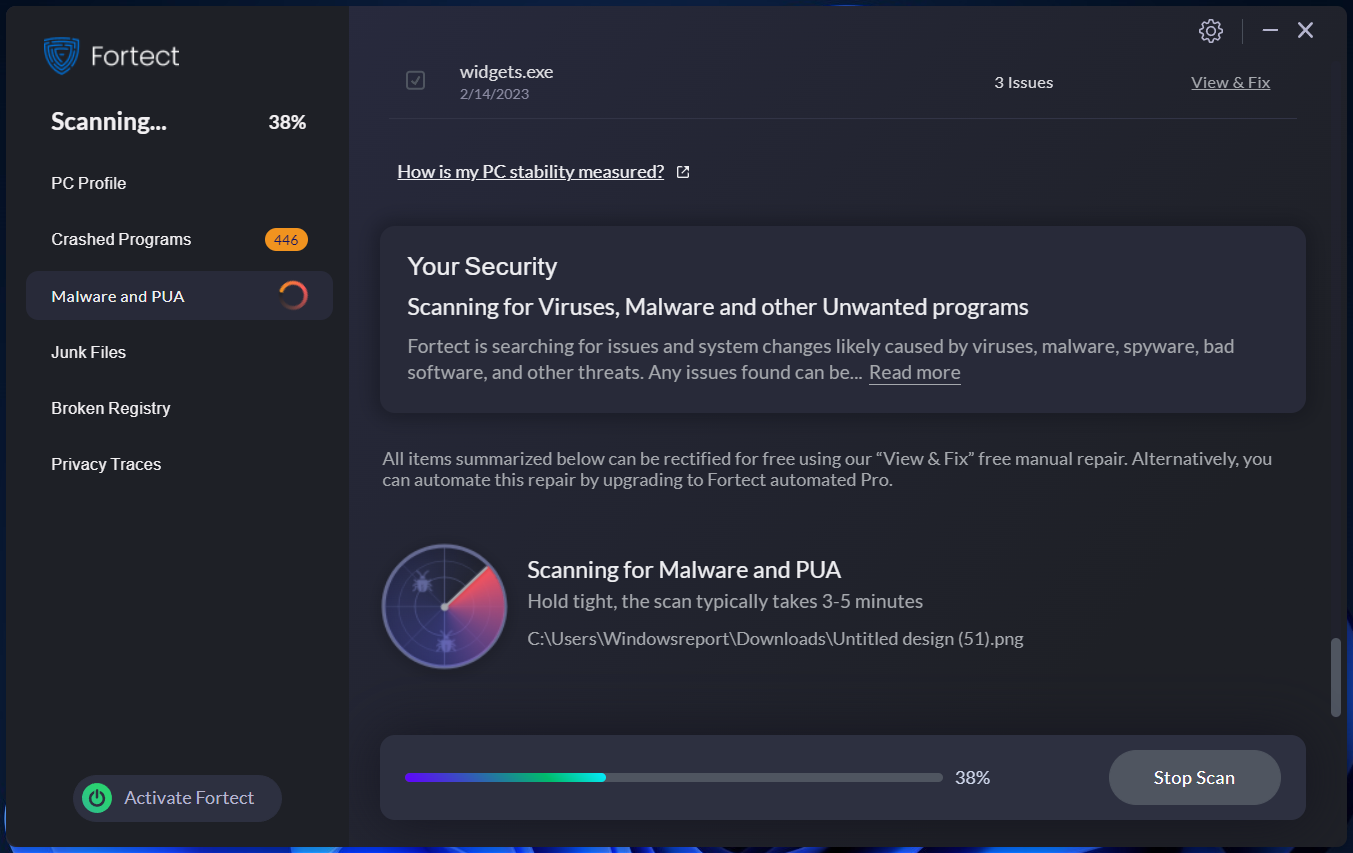
If you experienced Windows 10 error 0x800F0955 during an update, it is very likely that the error is caused by system file corruption. While there are several ways viruses and malware can infiltrate your PC, it is highly recommended that you perform a full system scan in order to remove the malware and viruses responsible for the system file corruption. With the MalwarebytesAdwCleaner solution, you can remove all malware from your Windows 10 PC. Follow these steps to use MalwarebytesAdwCleaner:
Download MalwarebytesAdwCleaner. Double-click on the downloaded executable file and follow the prompts to complete the installation. After installation, right-click on the MalwarebytesAdwCleaner icon and then select “Run as administrator” to launch the program. In the MalwarebytesAdwCleaner program, click on the “Scan” button to commence the scanning operation. After the completed scan, click on the “Clean” button. Now, click “OK” when prompted to restart your PC to complete the cleaning process. Afterward, initiate the Windows Updates process.
On the other hand, we highly recommend other software package such as Bullguard, Bitdefender, and ZemanaAntiMalware to remove malware from your PC.
2. Run System File Checker
It is well noted that Windows 10 error 0x800F0955 is caused by system file violations thereby resulting in interruption while updating Windows 10 PC to the version 1809 update. Nevertheless, the System File Checker Utility tool is a built-in Windows 10 tool that automatically resolves any form of system file corruption on the system. Here’s how to run an SFC scan:
Press Windows+Q and type cmd. From the search results, right-click Command Prompt and choose “Run as Administrator”. A new cmd window appears. Type SFC /scannow and hit the ‘Enter’ key. Wait until the scan and repair process is finished.
Alternatively, you can also run CHKDSK on your hard drive; besides, this tool cleans up any disk-related errors on your Windows 10 PC. Here’s how to run CHKDSK:
Go to Start > Type “command prompt” >Right-click on it, and select “Run as administrator”. Now, type “CHKDSK C: /F”. Hence, type CHKDSK C: /R without quotes in the Command Prompt and hit the “Enter” key. After the CHKDSK process, restart your PC afterward.
4. Run DISM
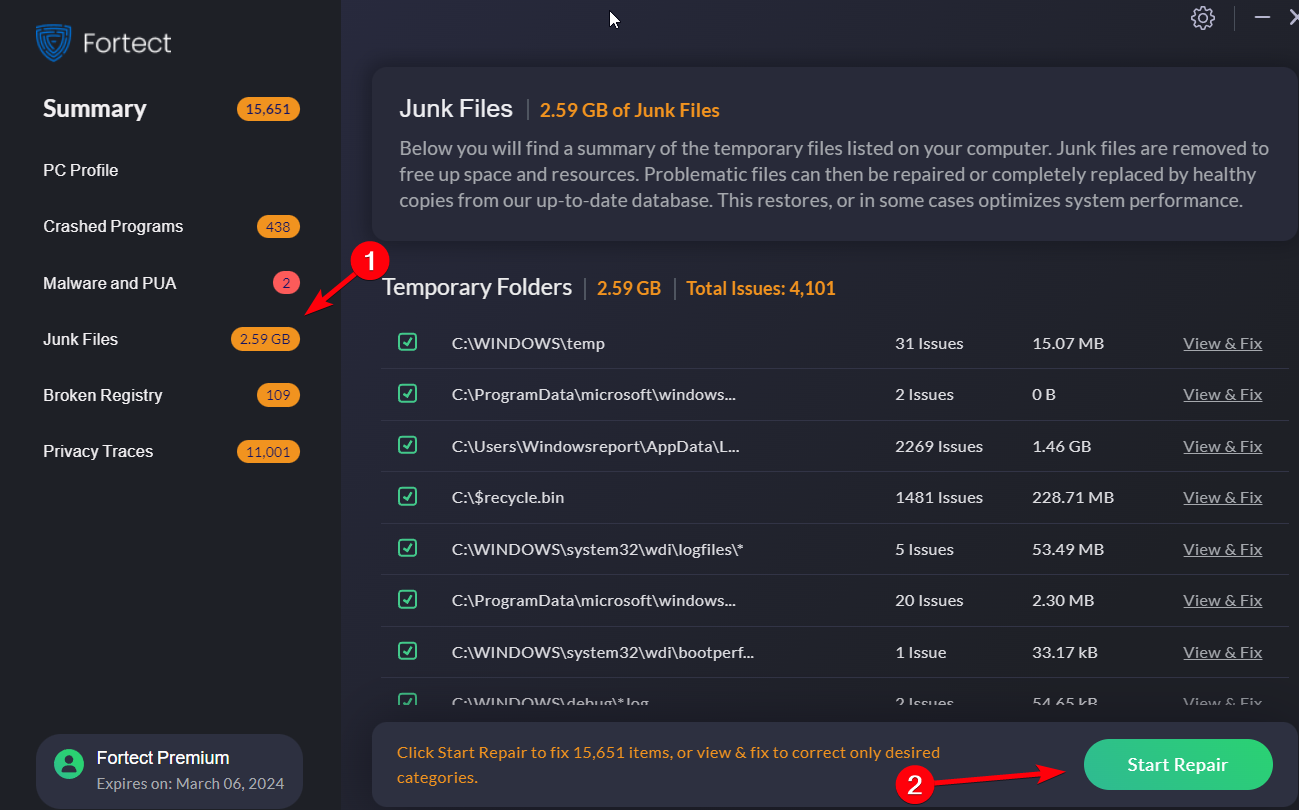
Another Windows 10 built-in tool you can use to resolve the Windows 10 error 0x800F0955 is the Deployment Image Servicing and Management tool. DISM is also applicable in fixing corrupt system files as well. When installing, updating, and removing applications, the Registry can become cluttered with missing or damaged entries over time. While Fortect is not a Windows 10 built-in tool, this third-party software is popular for its multi-functional features and optimizing Windows PC. One such feature is the Junk files cleaner or Registry module. Here’s how to run DISM in Windows 10:
Press Windows key + X and run Command Prompt (Admin). Copy and paste the following command on the command line: exe /Online /Cleanup-image /Restorehealth In case the DISM can’t obtain files online, try using your installation USB or DVD. Insert media and type the following command: exe /Online /Cleanup-Image /RestoreHealth /Source:C:RepairSourceWindows /LimitAccess Be sure to replace “C:RepairSourceWindows” path of your DVD or USB.
5. Use Windows Update troubleshooter
Windows 10 Creators Update is incorporated with the Windows Update troubleshooting tool. Windows 10 error 0x800F0955 on the other hand is a Windows 10 issue; therefore, you can run the troubleshooter in order to fix the error problem. Here’s how to do this:
Go to Start > Type “Settings” and then hit the Enter key. Head over to Update & Security > Troubleshoot Find Windows Update, and click Run the troubleshooter Follow further on-screen instructions Restart your computer
6. Run Automatic Repair
An automatic repair can be used to fix myriads of errors on the Windows 10 system most especially Windows 10 error 0x800F0955. However, you need a Windows bootable installation DVD ready for automatic repair. SPONSORED Here’s how to run automatic repair:
Insert Windows bootable installation DVD and restart your PC afterward. Press any key to boot from CD or DVD when prompted to continue. Select your language preferences, and click “Next”. Click Repair your computer in the bottom-left. In the “choose an option” screen, Click Troubleshoot > Click Advanced option > Automatic Repair. Then, wait for the Windows Automatic Repair to be completed. Restart your PC and boot to Windows.
7. Clean install Windows 10
Due to the hours, it will take to install your current software as well as to restore your backed up files, clean installing your Windows 10 PC might not be the ultimate solution. However, it is an effective solution to fix the Windows 10 error 0x800F0955. Before you proceed, you should create an ISO file with the ‘media creation tool’, and create a bootable USB drive with it or burn it on DVD. Also, you should back up your files and also note your currently installed programs. Here’s how to clean install Windows 10:
Download the Media Creation Tool. Plug-in the USB flash drive(preferably 2.0) with at least 4 GB. Run Media Creation Tool and accept the License Terms. Select the “Create installation media (USB flash drive, DVD, or ISO file) for another PC” option. Pick the preferred language, architecture, and edition and click Next. Choose a USB flash drive and then click Next. Media Creation Tool will download the setup and copy the installation files onto the USB flash drive. Finally, restart your PC. Plug-in USB and start the Setup.
8. Reset Windows Updates components
Disclaimer: Follow the outlined steps carefully as serious problems may occur if you do this incorrectly. This solution involves modifying your system registry. Here’s how to manually reset the Windows Updates Components:
Right-click Start Select Command Prompt (Admin) Click Yes when asked for permissions Stop the Windows Update, Cryptographic, BITS, and MSI Installer services by typing the following commands at a command prompt:
net stop wuauserv net stop cryptSvc net stop bits net stop msiserver (Press the Enter key after each command you type)
Rename the SoftwareDistribution and Catroot2 folder by typing the commands below in the Command Prompt then press Enter after each command you type:
Ren C:WindowssoftwareDistribution SoftwareDistribution.old Ren C:WindowsSystem32catroot2 Catroot2.old
Restart the Windows Update, Cryptographic, BITS, and MSI Installer services by typing the following commands in the Command prompt:
net start wuauserv net start cryptSvc net start bits net start msiserver
Type Exit in the Command Prompt to close it
Afterward, initiate Windows Updates and install the latest updates. On the other hand, some Windows 10 users reported getting “Access Denied” prompts when trying the processes above. Here’s what to do if your access is denied:
Log in first as an administrator or use an administrator user account Stop the Windows Update service and try to rename the SoftwareDistribution folder Right-click Start Select Run Type services.msc and press OK or enter Scroll down and locate Windows Update service Right-click and select Properties Stop the service
Follow the steps above so as to manually reset Windows Update Components Afterward, go to the Services window again, now start the Windows Update service, and then restart your PC. Conclusively, any of the above-mentioned solutions are adept at resolving Windows 10 error 0x800F0955. Should you have any questions, let us know by dropping a comment below.
SPONSORED
Name *
Email *
Commenting as . Not you?
Save information for future comments
Comment
Δ


![]()
